
15 Nov Loan Manager
Loan Manager
In prior versions, creating amortization schedules required Excel or some other product such as TValue to calculate loan repayment schedules. New with version 2004 a loan manager is built in with the Pro and higher products.
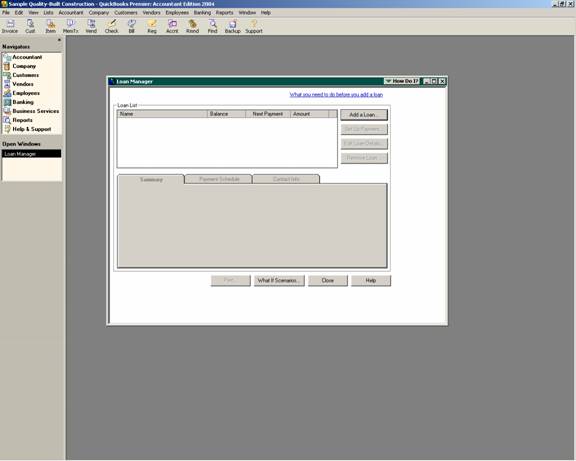
Before beginning obtain all loan related information. The actual loan document is preferred, but at a minimum the liability account will need to be set up on the chart of accounts, origination date, the loan amount, payment amount, interest rate, term of loan, payee, loan number, etc. Next, choose Banking > Loan Manager.
QBRA-2004: Banking > Loan Manager

Next, it is time to add a loan.
The Account Name is available from the other current liability and long term liability type accounts. The lender is available from the vendor or other names list. The origination date is the date the loan was funded. The original amount is the amount that was borrowed when the loan was obtained. And the terms should be entered as a number of months (for example, a 5 year loan is 60 months). It is important that all this information is entered accurately to ensure an accurate schedule of principal and interest payments.
TRICK: Be sure that both the account name and lender name are set up on the appropriate list prior to opening the loan manager. If the loan manager is already open and then the names are added, the pull down lists within the loan manager will not be updated.
QBRA-2004: Banking > Loan Manager > Add a Loan

Click the next button to proceed to the payment screen.
On this screen, the date of the next payment is entered; the amount of the payment; payment frequency, and the loan payment number that is optional. If the loan also has an escrow payment, it can be entered on this screen too. By default the check box is marked to show a reminder 10 days before the payment will be due.
QBRA-2004: Banking > Loan Manager > Add a Loan > Next

The next screen is the interest information.
The interest rate is entered as a percentage. The compounding choices are either monthly or based on the actual days. If the latter is chosen it is possible to designate 365/365 for the period or 365/360. The payment account is chosen from the bank accounts. On this screen enter the interest expense account and the fees/charges expense account from the chart of accounts.
Once everything has been entered, click the finish button.
QBRA-2004: Banking > Loan Manager > Add a Loan > Next > Next
Once the loan is set up, clicking on the payment schedule will display the principal and interest portions of each payment of the loan.
Note: A test loan entered using T-Value (difference coded to first payment) and the loan manager resulted in the same amortization schedule. T-Value is much more flexible to control exactly how the amortization schedule is calculated. But using this example, the schedule was the same
QBRA-2004: Banking > Loan Manager > Payment Schedule

With the loan manager open it is possible to have the software enter a check or bill for the payment. It is also possible to enter a regular payment or an extra payment. The principal and interest amounts are filled in based on the payment schedule, but can be overridden as needed.
QBRA-2004: Banking > Loan Manager > Set Up Payment

The “what if scenario” button will permit evaluating the loan based on the following choices:
- What if I change the payment amount?
- What if I change my interest rate?
- How much will I pay with a new loan?
- What if I refinance my loan?
- Evaluate two new loans.
Enter the new information and click on calculate to see the results.
QBRA-2004: Banking > Loan Manager > What if Scenario

More information on this topic