
15 Nov Creating A New Data File
Creating a New Data File
QuickBooks has the ability to handle several different companies, each as their own data file. Usually a small business will have just one company file, but the flexibility this feature provides is especially important for bookkeepers and accountants, as well as small business owners with more than one company. This section contains a discussion of the components necessary to setup each new company. The software has a self-explanatory easy step interview to perform this function.
QBRA-2003: File > New Company

TRICK: With one of the transaction copier tools available, it is possible to have multiple QuickBooks files and simply merge most of the transactions from one file to another. An example is the accountants keeps a QuickBooks file for processing the payroll for a closely held professional services corp but the on-site employees write checks and create invoices in another file. The accountant can then use the QuickBooks transaction copier to create an IIF file to import the employee transactions into the “main” file that contains the payroll information.
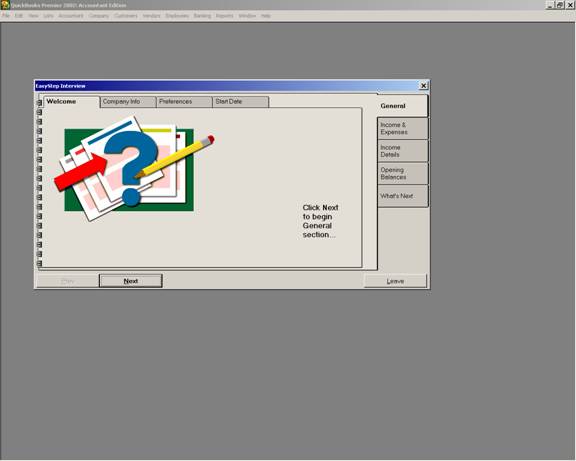
Quick Setup
QuickBooks has an EasyStep Interview process to make the setup of a new company file more organized. It is possible to go through all of the different tabs to completely setup the company. However, it is recommended to “skip out” of the interview and proceed to setting up the various lists and balances from within QuickBooks itself. The specific set up procedures will be detailed as appropriate throughout this course. The steps to accomplish this task are detailed as follows:
1. Open the QuickBooks software program.
2. Click on File > New company.
3. For version 2004, choose to create an industry specific or custom file and click on OK. If an industry specific type of business was chosen, the software will jump to the final step (number 14 below). Otherwise, the software will proceed to the easy interview process described below.
4. Click on Next again if using the accountant’s edition to by pass the professional advisor information.
5. At this point, click on “Skip Interview.” The reason is to become familiar with moving around in the software over the next few chapters rather than proceeding through the EasyStep Interview process. The advantage to making this decision is that the way that movements happen in the actual software are a little different than the Easy Step Interview. It is easier as the software is learned to be more consistent. The next few steps will be required to setup the file, and then the list information and transactional data can be entered.
6. Enter the Company Name. Press tab to move to the next field. It will make your data entry easier if you learn to make the tab key your primary means of moving from field to field. Enter will then be able to serve as the key used to save the transaction.
7. If the legal name is different, enter it here. An example would be a sole proprietor. The company name would be based on how the business is known (i.e., the fictitious business name that was filed with the county or state, would be the company name). The legal name would be the owner’s individual name (i.e. the name which is filed on tax returns). Another common example would be for franchises.
8. Enter the address. In the older versions, add the telephone number, contractor number, tax id number, etc. under the address if it will be important to have this information printed on the invoices. If this information needs to be revised or changed at a later point, you can get to it again by clicking on File > Company Info when the file is open. In the 2002 versions there are additional fields for that type of information on the templates.
9. The country will usually be U. S. (Canada or other are the alternatives.) Also enter the phone #, fax #, E-mail, and web site.
10. The first month in the fiscal year will usually be the same as the tax year. See the step below.
11. The first month in the tax year will be the normal tax year of the business. If the business is just beginning this year, it will not be when the business begins, but when the year will be starting next year. For example, a sole proprietorship began business on July 1, but will be required to file a schedule C annually as part of the 1040 form (a calendar year form) so the first month in both the fiscal and tax year would be January. There would simply be no activity the first 6 months of the first year.
12. The income tax form used is important if QuickBooks will interface with Turbo Tax or Lacerte to prepare the income tax forms at the end of the fiscal year. If the interface is not necessary, <Other/None> is an acceptable answer. The only other change this choice makes is in the equity section of the chart of accounts.
13. QuickBooks tries to help whenever possible. The pre-set chart of accounts is yet another example of that fact. There are many different industries listed to provide a starting point for the new company file. Choose the one that most closely resembles the business and then subsequently modify it to match the business needs. If a chart of account from another file is preferred choose “none.” After you have saved the file in the step below, you cannot ever change the chart of account industry in total. You would have to add, delete, and/or modify individual accounts to make chart of account changes.
14. The final step is assigning the name of the file. This is an important step. No where in the software will you find the “save as” option. Once you have chosen a name and folder, and clicked on OK, the only way you can move it or change the name of it is to do so in Windows. QuickBooks automatically saves as transactions are recorded so there is no need to save regularly. The only procedure to do as transactions are entered into the file is to make a backup and store it off-site.