
22 Nov Auto Reporter
…General Detail Reports
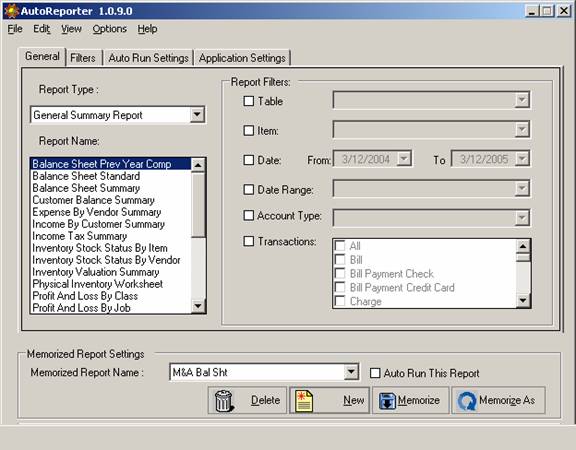
General Summary Reports
Custom Detail Report
Custom Summary Report
Job Report
Time Report
Aging Report
Filters Tab
For detail reports, it is also possible to designate additional filters such as report columns.

Auto Run Settings Tab
The next tab controls the auto run settings. You can choose to preview the report, print it, or email it to any email address. You also choose the frequency to run the report.
For the preview, the report will be displayed on the screen in a browser window.
For the print option, the default printer will be used.
For the e-mail option, your internal email (MAPI-compliant) system will handle delivery to the email address(es) entered. The email will carry the subject and body text entered.

Application Settings Tab
This tab is used for designated which edition of QuickBooks will be used, where the data file can be found, how often the data base should be reviewed for reports that need to be run, etc.

-
- The first time this QuickBooks data file will be used, it is recommended that QuickBooks be running with the required data file open. Click on the button to “Use Currently Opened QuickBooks File.” Click on Preview at the bottom of the screen and the following pop up box will appear in QuickBooks. Mark the radial button for “Yes, always; allow access even if QuickBooks is not running” and check the box to allow this application to access personal data. This is where the power of AutoReporter truly is: Being able to generate reports without any user intervention. Click on Continue, Yes, allow access, and click on Done.

Memorize Report
Once all the changes have been made, confirm the auto run check box has been marked if needed and memorize the report for future use by clicking on the memorize button:

- WARNING: Be extremely careful using the Memorize button, whatever changes were made will be saved using that same memorized report name. If this is really a different report, or going to a different person, etc. the “Memorize As” choice will be critical.
- To see the list of the memorized reports that exist, click on the down arrow next to the memorized report name.
- To remove a memorized report, choose it from the list then click on delete.