16 Nov Adding Class Column to Templates
Adding Class Column to Templates
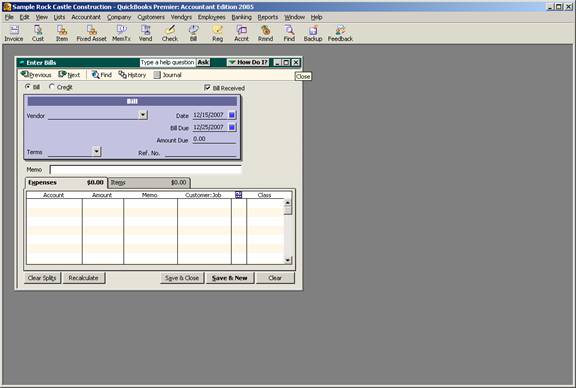
Once the Accounting preference on the Company tab has been turned on for the class feature, an additional column will automatically appear on checks and bills.
QBRA-2005: Vendors > Enter Bills

For the create paychecks and timesheets forms, to have the class column appear, it is required that the Payroll & Employee preference on the Company tab be marked to assign one class per earnings item.
QBRA-2005: Employees > Time Tracking > Weekly Timesheet

The invoice and sales receipt forms, however, will only have the class visible at the top of the form when the Accounting preference for the class feature is turned on. The result is the entire transaction is coded to one class.
QBRA-2005: Customers > Enter Invoice

To permit assigning specific lines to different classes, the template must be modified. On the Columns tab the class can appear on the screen, on the printed invoice or both.
QBRA-2005: Lists > Templates > Custom Invoice > Edit > Columns

Save the template once the check mark has been placed in the appropriate columns next to class. It is now possible to assign the class by line when that template is used to record a transaction.
QBRA-2005: Customers > Create Invoices

The same changes will be necessary for the other forms.
TRICK: If a class is assigned in the field at the top of the form (next to the customer:job) it will only appear for the Accounts Receivable portion of the entry. If the class field next to the detail lines for income and expense transactions does not have a class assigned, that portion of the transaction will appear in the unclassified column of the Profit & Loss Report.

